Ditch the Desktop, Embrace the Pi: Your New Favorite Dev Companion!
Ditch the Desktop, Embrace the Pi: Your New Favorite Dev Companion!
Let's talk web development. For years, the drill has been pretty standard: whip up some files, open 'em in Chrome, maybe fire up an Apache, Node, or Vite server to get your page live. All from your trusty work computer, right? And hey, for a solid decade, that's been my jam too. It worked! But folks, times are a-changin'. Those tiny single-board computers (SBCs) like the Raspberry Pi? They've grown up, way beyond their humble Model B beginnings, offering a whole new way to build.
So, why bother hosting your web dev playground on an RPI? Because sometimes, even your most trusted workhorse of a PC has its limitations when it comes to serving up your brilliant creations.
Let's talk about …
The Perils of the PC: Why Your Work Machine Isn't Always Your Best Server
One of the biggest headaches in web development is testing on multiple devices. We're talking load times, how your design holds up on different screen sizes, the whole nine yards. Sure, Chrome DevTools do a decent impersonation, but let's be real, it's never quite the same as seeing it live on an actual phone or tablet.
Now, if you've ever tried to access your work PC's hosted site from your phone, you know the struggle is real. Opening a port on your work machine to the local network can feel like walking a tightrope over a pit of digital alligators. And thanks to overzealous antivirus software and firewalls, it can sometimes be an impossible mission. If you're nodding along, sighing dramatically, then the RPI is about to become your new best friend.
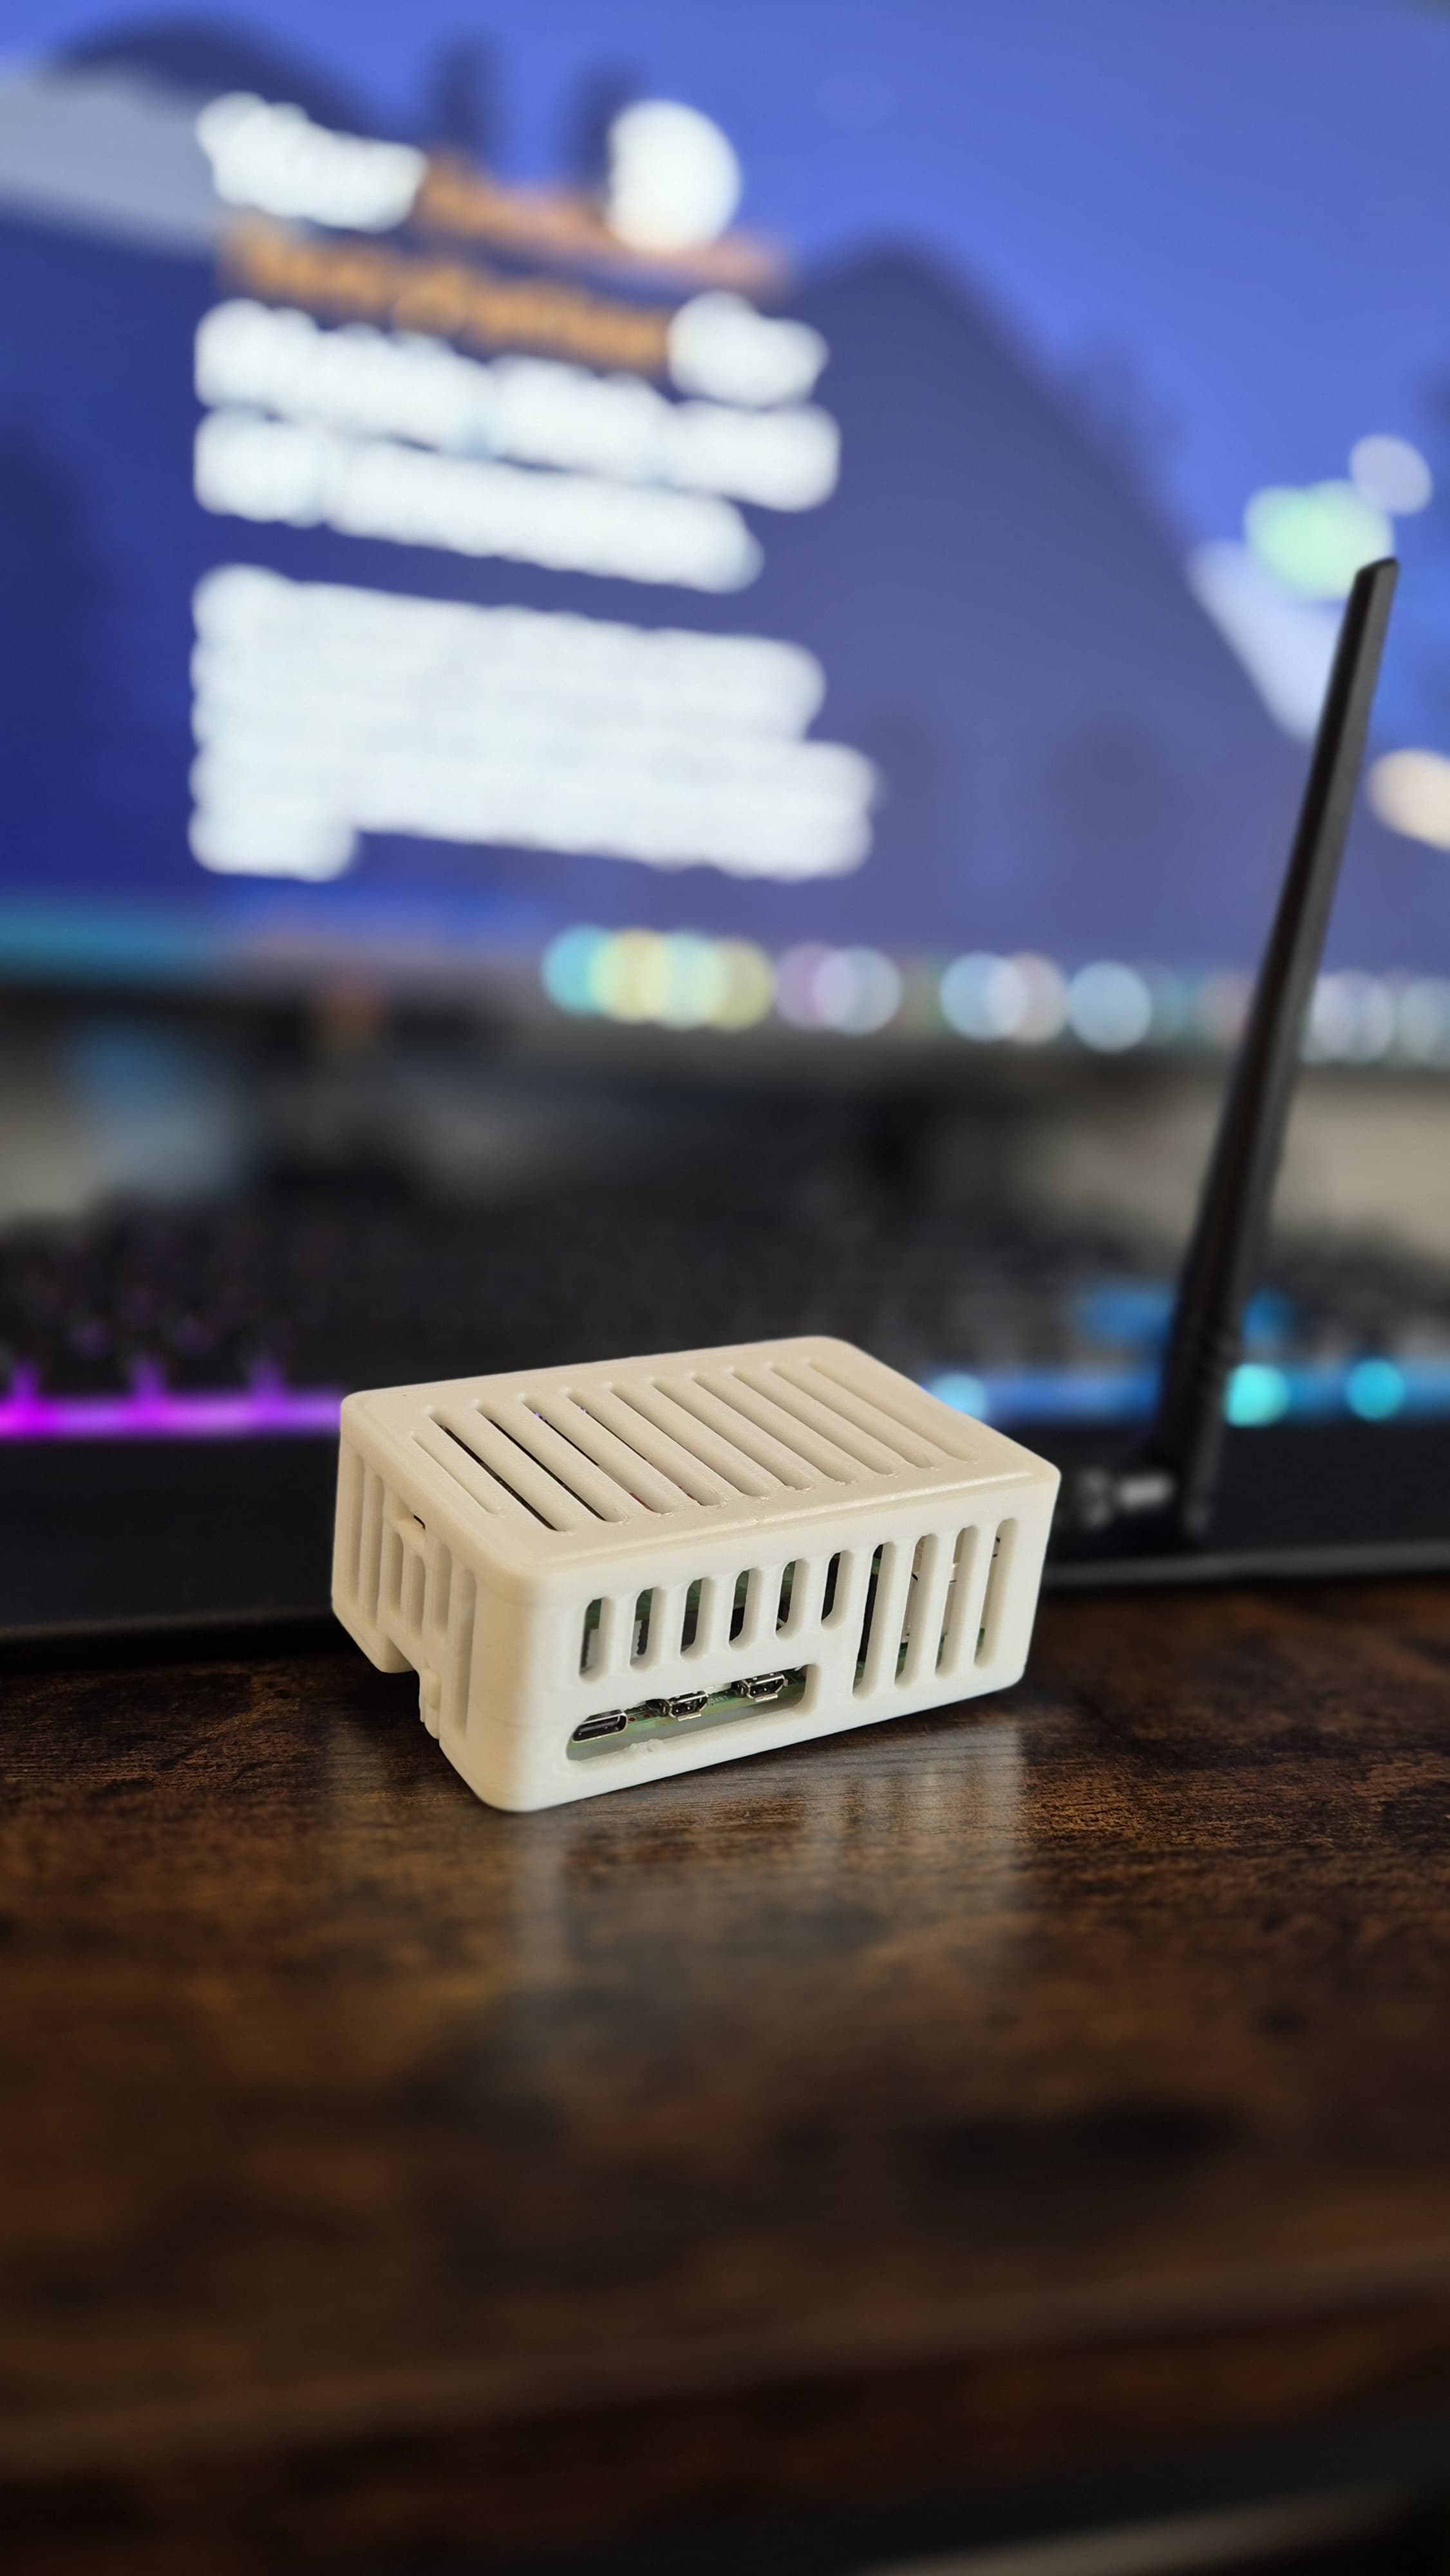
"But Matt, My Pi is So Tiny!" – The Secret to Big Dev Power
"Hold on, Matt," I can hear some of you thinking, perhaps while squinting at a picture of a credit card-sized computer, "how am I supposed to develop on something as small and low-powered as an RPI? Do I need a microscope and tiny fingers, or maybe some sort of magical shrinking potion?” Here's the kicker: you don't have to develop on it directly like you would your main computer. You don't even need to load the full-blown Debian GUI. The 'lite' (server) version is your ticket. And no, you absolutely do not need a mouse, keyboard, and screen tethered to your RPI to use it.
Your VS Code and RPI: A Match Made in Dev Heaven
Here’s the lowdown on how this magic happens, especially if you're a VS Code fanatic like me.
- Remote SSH Extension: Head over to the Extensions tab in VS Code and search for "Remote SSH." This is your golden key.
- SSH Connection: You'll set up an SSH connection to your RPI (and don't forget to enable this service when you're initially setting up your Pi!). Once you know your RPI's IP address (something like 192.168.1.32 – don't worry, that's not my RPI's address, haha!), you can connect.
- Code on Your PC, Files on Your Pi: It'll take a moment for VS Code to download the necessary packages to your RPI, but then, boom! You're coding in VS Code on your main work PC just like always, except the actual code files reside on your RPI.
- Serve It Up: Now, you can serve your files however you usually do. For instance, my website is built with Vue 3 and Nuxt 3, so I simply run a Vite server directly on my RPI.
- Instant Access: Here's where the RPI shines: VS Code allows you to access your RPI-hosted site directly from your work PC. Plus, your RPI typically doesn't come with a stubborn firewall blocking its ports (unless you've specifically set one up, you clever devil). This means you can instantly access your site via your phone or any other device by just typing in the RPI's IP address and port number.
This setup lets you effortlessly test load times, performance on a lightweight server, and compatibility across multiple devices – all without the firewall headaches!
The RPI: Your Portable Powerhouse
And there's more to love! That feeling when you're away from your desk, but inspiration strikes? You can keep your projects in sync via Git with VS Code through the RPI. This means you can pick up and code from another device even if you don't have your RPI physically with you. But trust me, once you start using the RPI as your main dev companion, it truly grows on you. It becomes that reliable teammate who always has your back.
"My Router's Playing Games!" – Taming the Wild IP
I know some of you smart cookies are already raising an eyebrow, "But Matt, my router dynamically sets my RPI's IP address, so it changes on every reboot, like a mischievous gnome relocating your socks?" Don't worry, I've got you covered.
You can easily set your RPI's IP to static. This simple configuration forces your router to use that same, consistent IP address for your RPI every single time. Problem solved! Plus, if you're truly on the go, connecting the RPI to your laptop using a USB allows you to connect via the RPI's own network for on-the-go development. See? I told you it grows on you!
Beyond Development: Your Personal Digital Fortress on the Go
What else can you do with an RPI? Well, as someone who's extremely wary of the digital Wild West that is public Wi-Fi, I use my RPI as my personal Access Point (AP).
Here's my setup: my RPI connects to the public Wi-Fi, and then all my other devices connect to my RPI. There's virtually no loss in speed, but a massive gain in security and control! The RPI can restrict what traffic goes from it to my devices and vice versa, giving me peace of mind. Plus, it lets me share and connect via my own private network, even when I'm sipping a latte at a crowded coffee shop. How cool is that? For a geek like me, it's pretty darn cool.
The RPI Adventure Continues!
What other hidden talents does this versatile little device possess? The possibilities are surprisingly vast! Eager for more RPI revelations and practical insights? Dive into some of our other blogs for more tips, tricks, and ingenious uses for your new favorite dev companion!
Written by Matthew Betts
Matt Betts
Founder • Lead Developer • Technical Consultant
Over 12 years building software and guiding teams. I work hands-on with founders to shape clear, reliable systems across web, mobile, and IoT.
Check out my LinkedInInsights
Recent articles from Wizard Dev House
Ditch the Desktop, Embrace the Pi: Your New Favorite Dev Companion!
Let's talk web development. For years, the drill has been pretty standard: whip up some files, open 'em in Chrome, maybe fire up an Apache, …
Read More
Lego for Geeks: Building a Raspberry Pi Kubernetes Cluster
My journey into the world of tiny computers and lightweight Kubernetes. It was messy, occasionally frustrating, but ultimately incredibly re…
Read More
Vibe Coding: Shortcut to Genius or Highway to Hell? (A Grumpy Old Dev'…
Alright, digital architects and code-slingers, let's talk about the latest shiny object distracting developers: "Vibe Coding." You know the …
Read More
Step-by-Step Guide to Building Your Raspberry Pi Cluster
This guide will walk you through setting up a Raspberry Pi cluster, including configuring static IPs, disabling Wi-Fi, enabling cgroups, and…
Read More